You can follow the screenshots below and/or watch this video:
We will show you the 2 parts of the connection to PrintSmith: READ and WRITE. You will have to do this setup one-time for each installation/computer using ShipLeap Momentum.
1. Hover over the gear. Then click on Plugins.

2. Create a new Printsmith READ connection. You will need the IP address (URL) of the Printsmith Vision server. This can be a local IP (if you are hosting locally) or any external IP (like the EPS-hosted external IP)


Click on the Available Plugins and select the VisionCloud first and click on the ADD PLUGIN CONFIGURATION button

Under host, type in the PrintSmith Vision URL (do not include /PrintSmith/PrintSmith.html). Then, type in the PrintSmith username and password. The Printsmith user you enter just needs to have permissions to open, read, and write to a Printsmith invoice. Basic customer service level permissions should be fine. Make sure you type visionserver (all lower case) under writebackplugin and click SAVE.

3. Now do a similar thing for the WRITE plugin. Select VisionServer and click the ADD PLUGIN CONFIGURATION button

Under host, type in the EXTERNAL PrintSmith Vision URL (do not include /PrintSmith/PrintSmith.html). This can ONLY be the EPS-hosted external IP or an external IP that you created if you are hosting locally. DO NOT USE AN INTERNAL IP ADDRESS FOR THE WRITE. For example, you can use the PrintSpeak URL for Vision: https://shipleap.freshdesk.com/a/solutions/articles/48001228642
Enter the PrintSmith username and password and Click SAVE.

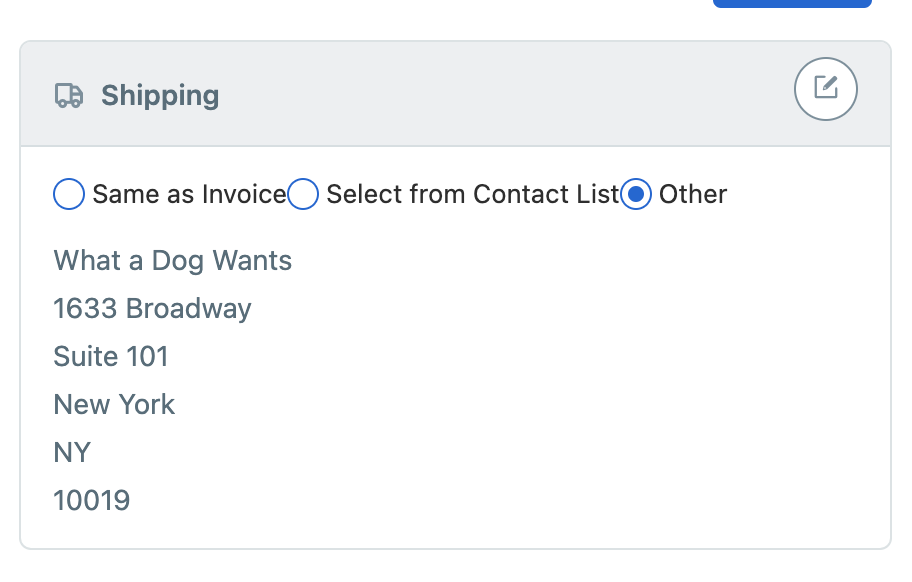
After you close and re-open the app, you should be all set. Enter an invoice number in the scanner input box and test that you can read the shipping information from your invoice. Pick an invoice that is in the pending documents with a shipping address in the Shipping section.


